A landline phone for the kids
My kids are 7 and almost-9, and they’ve started wanting to talk to their school friends over the phone. Giving out my cell phone number works when I’m home, but it also leads to calls when I’m out, and it means the kids can’t just call at any time.
So I set up VoIP service and got an IP cordless phone, and now the kids can call their friends. I picked a VoIP provider that’s cheap and very configurable, but also complicated to set up. If you want something simpler, there are lots of VoIP providers that bundle their service with a particular device. If you’re willing to handle some complexity, though, this post tries to walk you through the setup.
Chris Hardie also wrote an article on this, which I used heavily in figuring out how to do it.
Contents
- Pick a VoIP-enabled phone
- Connect to Wifi and download the firmware update.
- Get VoIP service
- Configure the Grandstream WP816
Pick a VoIP-enabled phone
For VoIP, you need a device that can translate between the internet and a normal phone. Dedicated devices for this are called ATAs, and you can plug a normal corded phone into these. All of the ATAs I found have to use an ethernet cable to connect to your router: they can’t connect to Wifi. If you want to use a phone you already have, and your router is in a convenient place, follow Chris Hardie’s article for help setting this up.
It’s also possible to get a router that includes VoIP and a phone port. I already had a router, so I didn’t investigate this.
Finally, there are “IP Phones” that connect to Wifi directly from a handset that otherwise looks like a cordless phone. Because my house doesn’t have a convenient wired connection between the router and a place the kids could talk on the phone, and we only need one phone, this is the route I picked. In particular, I bought a Grandstream WP816 for $70 on Amazon, and the rest of this post explains how to set it up.
Connect to Wifi and download the firmware update.
Follow the Quick Installation Guide to assemble and charge the phone except for two things:
- The initial admin password is on a sticker under where the battery will go, so copy that before you put the battery in. If you miss this, like I did, then when you get to the Web GUI, you can type admin into the user name field, and it’ll give you a ** code to type into the phone to approve the initial login.
- When you first boot it, it might give 2 options for connecting to Wifi. I think they were “Mobile
setup” and “Local device”, but I’d need to factory reset the phone to double-check.
- “Mobile setup” will present a QR code that you can scan with a cell phone to connect to a WP816-provided Wifi network. The “login” page for that network lets you type in your home Wifi network’s SSID and password.
- “Local device” has the WP816 scan for Wifi networks, and then you can type in the password by nostalgically pressing numbers repeatedly until you get to the letter you want. Get capitals and symbols using the “Input method switching key”.
Once you’ve logged in, it’s a good idea to set up automatic firmware updates. Go to Maintenance | Upgrade and Provisioning, and set:
- “Firmware Upgrade via” to HTTPS
- “Firmware Server Path” to
firmware.grandstream.com
Press , and then press .
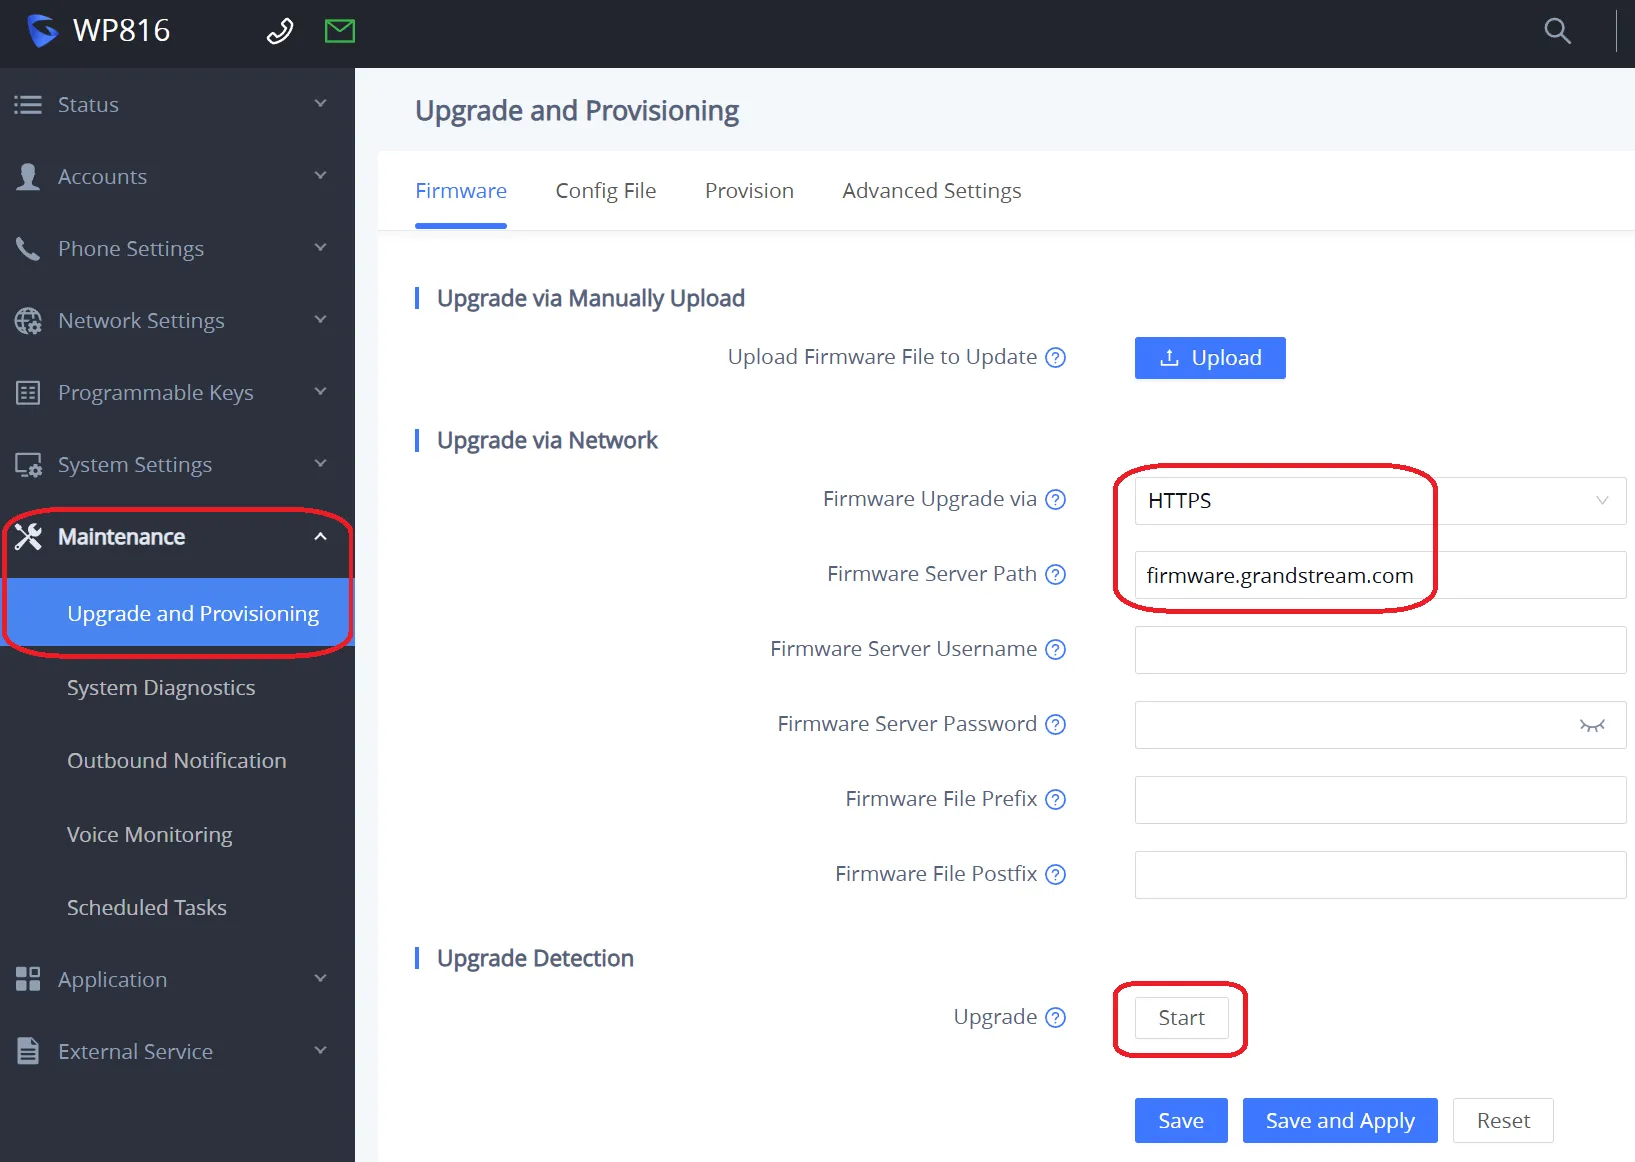
While the phone is downloading the update, go to the Provision tab, and turn on Automatic Upgrade. I picked a weekly schedule. This ensures that any security vulnerabilities get patched promptly.
The phone will eventually prompt you to reboot to apply the firmware update. While it’s downloading, you can sign up for and configure VoIP service.
Get VoIP service
VoIP.ms, based in Canada, offers a flat rate of $4.25/month for 3500 minutes, or $0.85 + $0.009/minute. There are other VoIP providers that cost more in exchange for simpler setup, but this is the one I picked and that I’ll explain how to set up here.
Visit their page, click , and use the resulting form to create an account. (Using this link should get both of us $10 off.)
You can do the following in any order, but I’ve put buying a phone number (a “DID” number) last so that you’ll have the other bits available to attach to it right away.
Voicemail
Create a voicemail mailbox, following the instructions in the first part of this YouTube video. We’ll connect it to things as we create them.
Sub Account
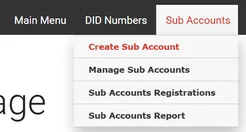 Add a Sub-Account so that the password you enter on the phone isn’t your main
account password. Most fields can stay at their defaults, but
Add a Sub-Account so that the password you enter on the phone isn’t your main
account password. Most fields can stay at their defaults, but
- Pick a username and password. Your main account was assigned a number
as its SIP username, and the subaccount’s username (which you’ll enter on your phone below) will be
that number, an underscore (“
_”), and the text you type here. - Turn Encrypted SIP Traffic to yes.
- Set Internal Extension VoiceMail to the voicemail mailbox you created above.
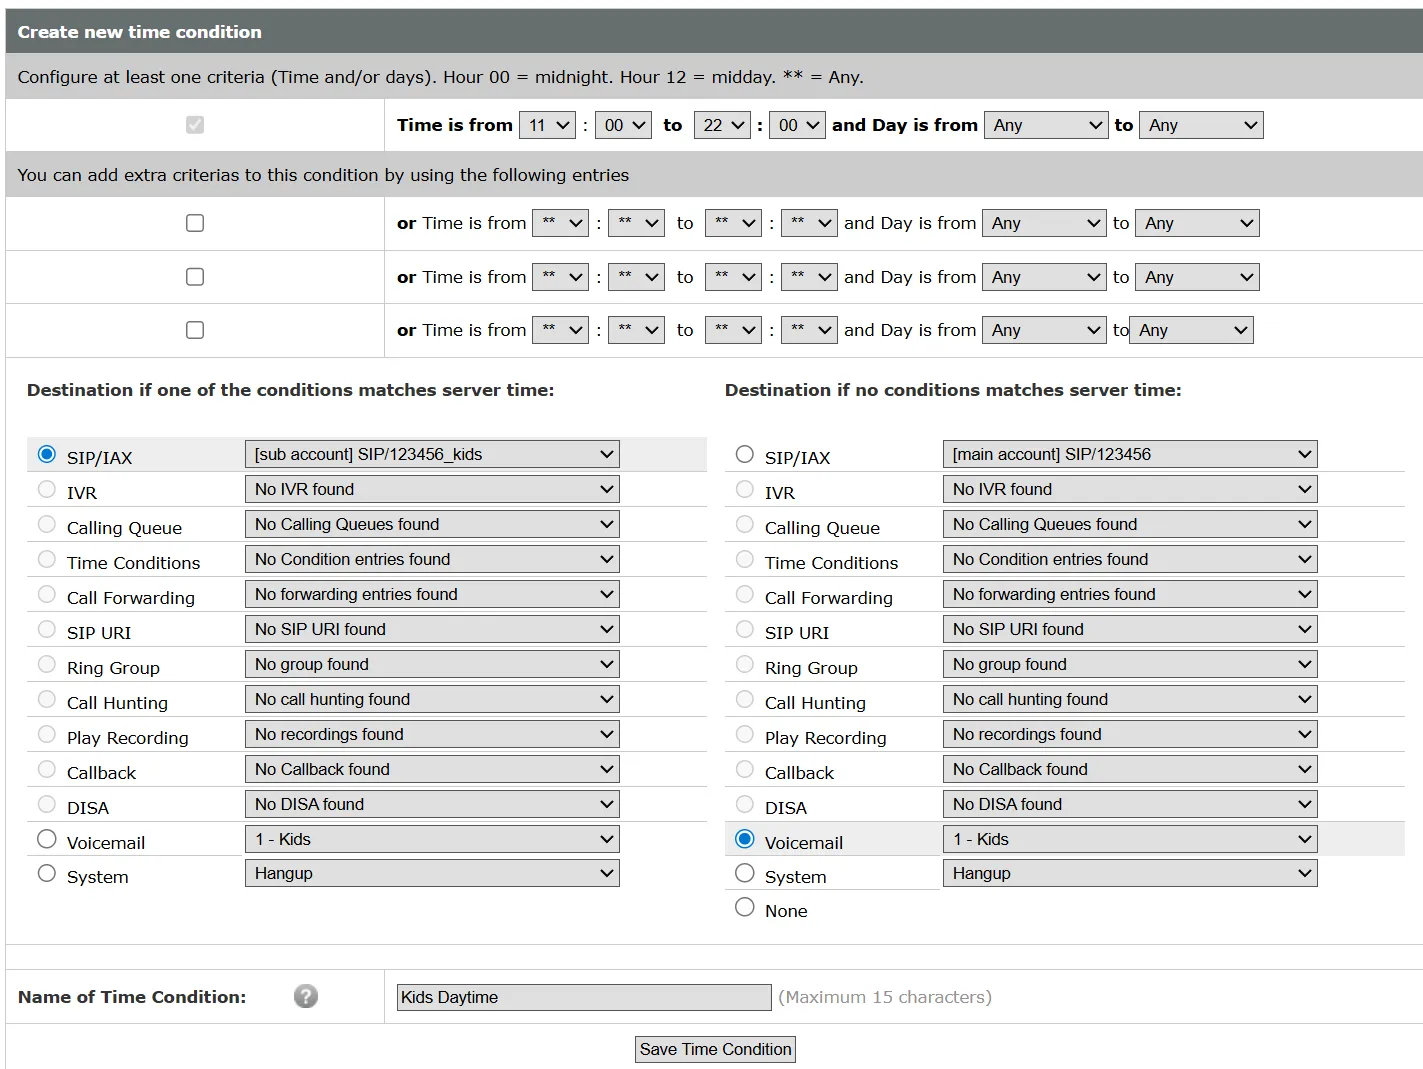
Time Condition
If you want to restrict when your phone can receive calls, for example so that your kids’ friends don’t wake you up in the middle of the night, create a Time Condition. I set mine to only ring from 8am to 7pm Pacific time (note that times have to be set in US Eastern time), and to go directly to voicemail otherwise:
Phone Number
Now you should add
funds and order
a phone number. Where the video says not to change the routing settings, you’ll want to set it
to either the Time Condition you configured earlier, or the Sub Account under SIP. Once you’ve
ordered the phone number, go to the Manage DID(s) page (under the DID
Numbers menu), and press the ![]() icon next to the phone number you just bought. Set the Voicemail associated
with DID to the voicemail mailbox you set up above, and define a Port Out PIN
protection PIN.
icon next to the phone number you just bought. Set the Voicemail associated
with DID to the voicemail mailbox you set up above, and define a Port Out PIN
protection PIN.
Emergency Services (Optional)
The ability to call 911 costs $1.50/month, and since we don’t yet leave our kids home alone, we didn’t turn it on for our landline. When we do start leaving our kids by themselves, we’ll turn it on using the page at https://voip.ms/m/me911.php.
With that, your VoIP account is set up, and you can proceed to connecting your phone to it.
Configure the Grandstream WP816
Follow the instructions in VoIP.ms’s Grandstream WP810 article. When it says to set the SIP Basic and Audio settings using the Grandstream DP750/DP720 guide:
- In Accounts | Account 1 | SIP Settings, set
- REGISTER Expiration to 3
- SIP Transport to TLS/TCP
- Local SIP Port to 5061
- In Accounts | Account 1 | Codec Settings, set
- Send DTMF to both in-audio and via RTP (RFC2833)
- SRTP Mode to Enabled and Forced
I was annoyed that the phone made noise every time I put it on the charging cradle. If you also want to turn that off, it’s in System Settings | Preferences | Enable Charging Tone.
I also got a warning that the User login had the default password. I got rid of that by unchecking System Settings | Security Settings | Enable User Web Access.
And you’re done. Let me know if something didn’t work.